
Updated: Jan 17, 2022
by: Andrea Morgan

Giving your vanity a fresh coat of paint + adding some new hardware can make it look brand new on a budget! Below is the step by step process and the supplies I used when painting our guest bathroom vanity.
BEFORE

SUPPLIES / PROCESS
I removed the hardware and drawers and then used the following simple 5 step process to paint our vanity.
1. SAND - I use 120 grit sandpaper to lightly sand off the cabinet's sheen. Removing the sheen will allow the primer to better adhere to the wood.
2. CLEAN - I use a lint free cloth + a little dawn dish soap and give the entire vanity a good wipe down.
3. TAPE - Once it dried, I use painters tape to tape any edges where I didn't want to get paint on.
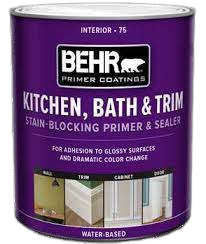
4. PRIME - Next up I applied one thin coat of Behr's Kitchen, Bath & Trim Primer. Dry time is 1 hour.
5. PAINT - I applied two coats (dry between) of Behr's semi-gloss urethane alkyd enamel. Dry time is 4-8 hours. I LOVE this paint for it's durability. We painted our entire kitchen using this paint this past summer and it's held up so well! The color I chose for our vanity was " Coastal Storm" by Behr.
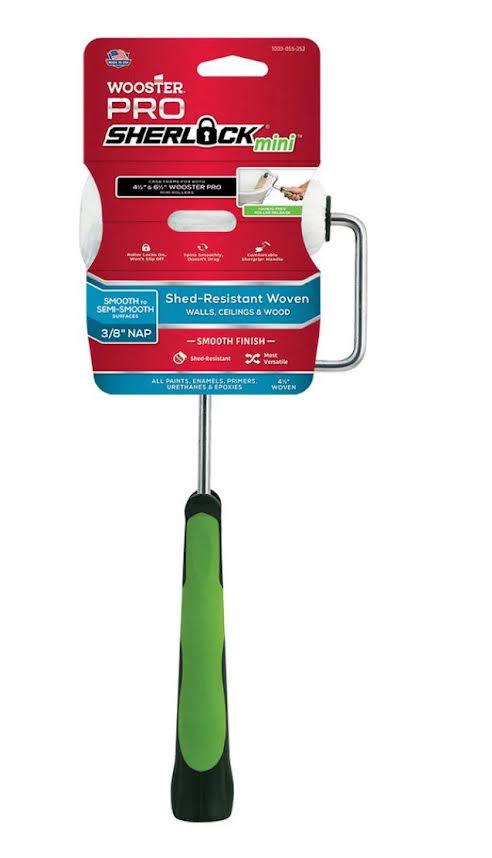
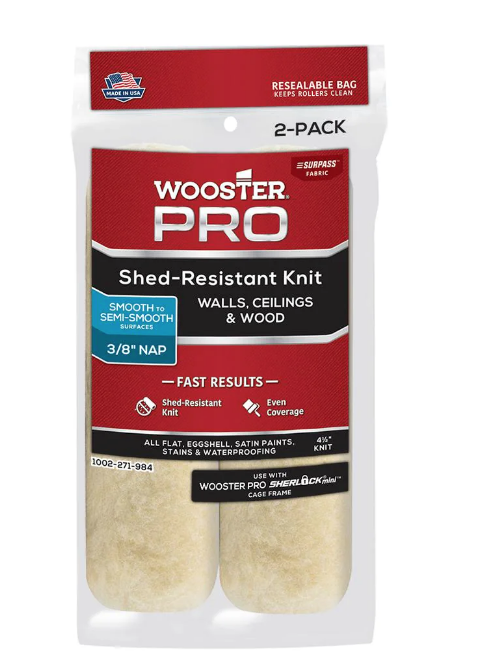
scroll & shop the supplies (affiliate links)


HARDWARE
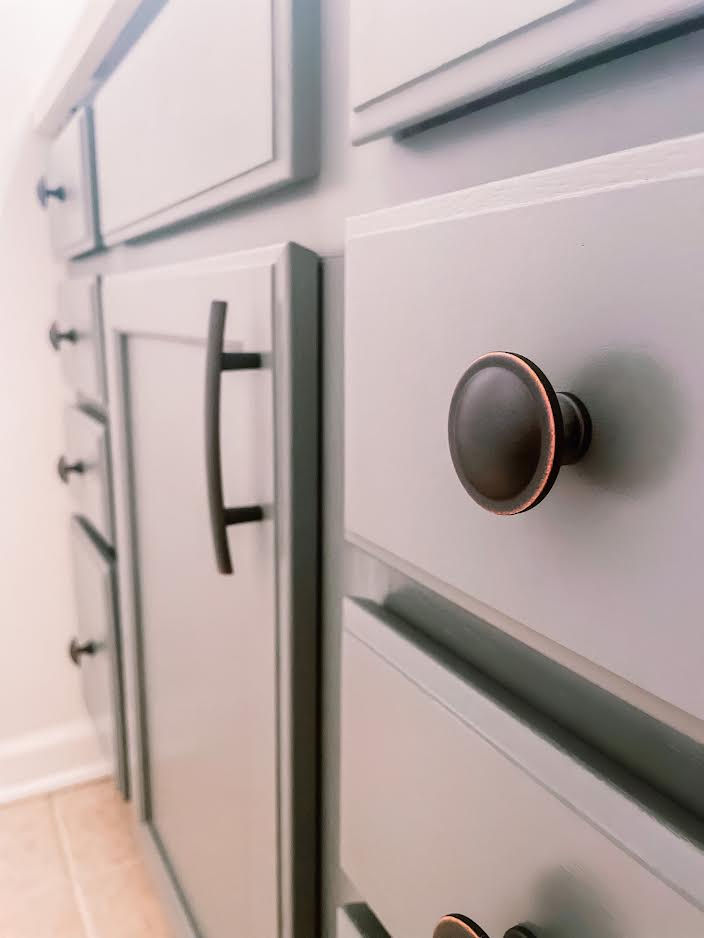
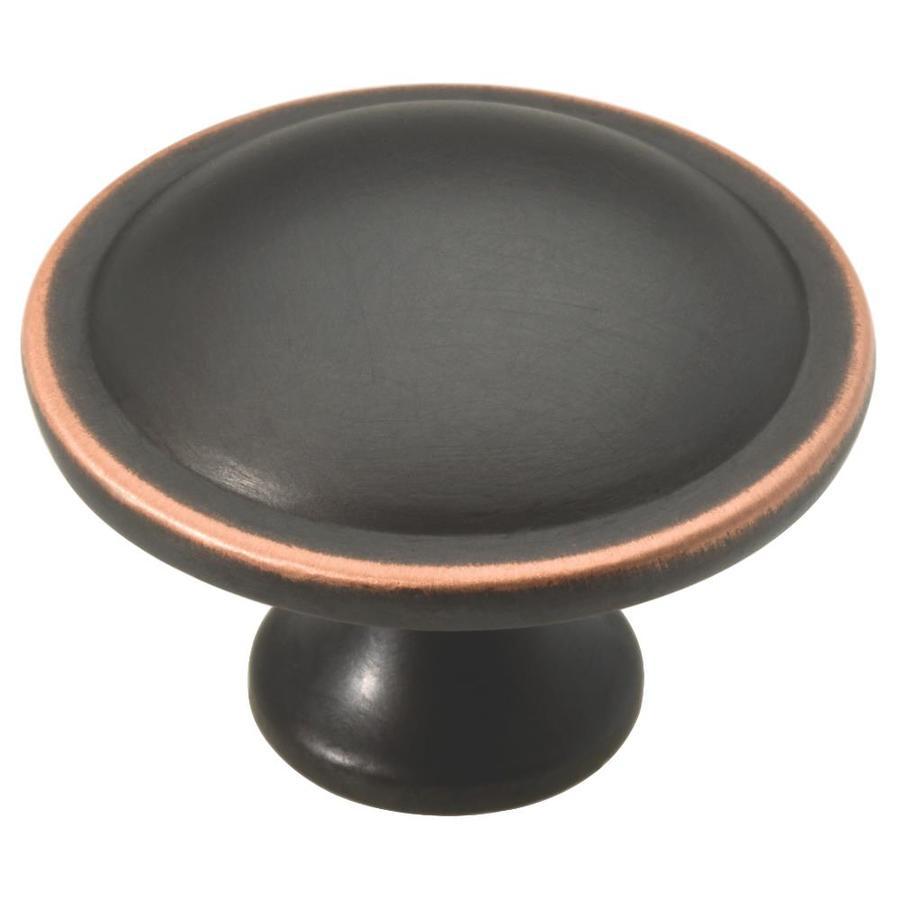
I didn't have anything in mind when shopping for hardware, I just knew I wanted them to give our vanity a "warm and timeless feel". These flat black knobs with just a hint of copper spoke to me.
scroll & shop the hardware (affiliate links)


AFTER
I LOVE how this simple vanity refresh turned out. It looks SO much better! Thanks for coming along with me on this project and I can't wait for you to give your vanity a quick & easy refresh with paint!

view on the "gram"
